Introduction to your NEXSMART camera
Congratulations on your new NEXSMART camera! To get the most out of your product, it’s a good idea to get familiar with the different features. The camera is packed with smart functions that can make your everyday life both easier and safer – but only if you know how to use them.
In this guide, we’ll help you step by step so you can get started quickly. You don’t need to be a technical expert – we’ll show you in a simple and easy-to-follow way how to set up the camera, use the most important functions, and enjoy the small smart details that make all the difference.
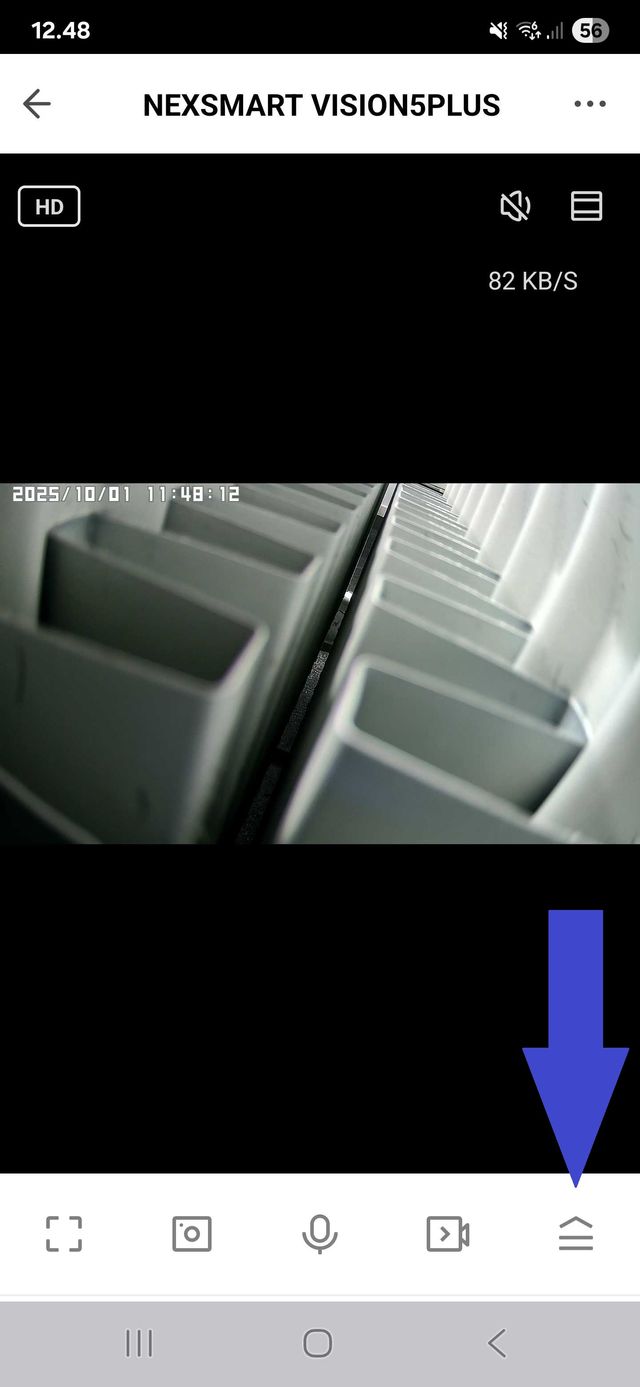
To access the camera’s basic functions, this is done from the camera’s Live View. You can see how in the picture:
Adjusting the camera settings
To change or customize your NEXSMART camera, you need to enter the settings. You can easily do this by;
1. Opening the camera in the app and accessing the Live View.
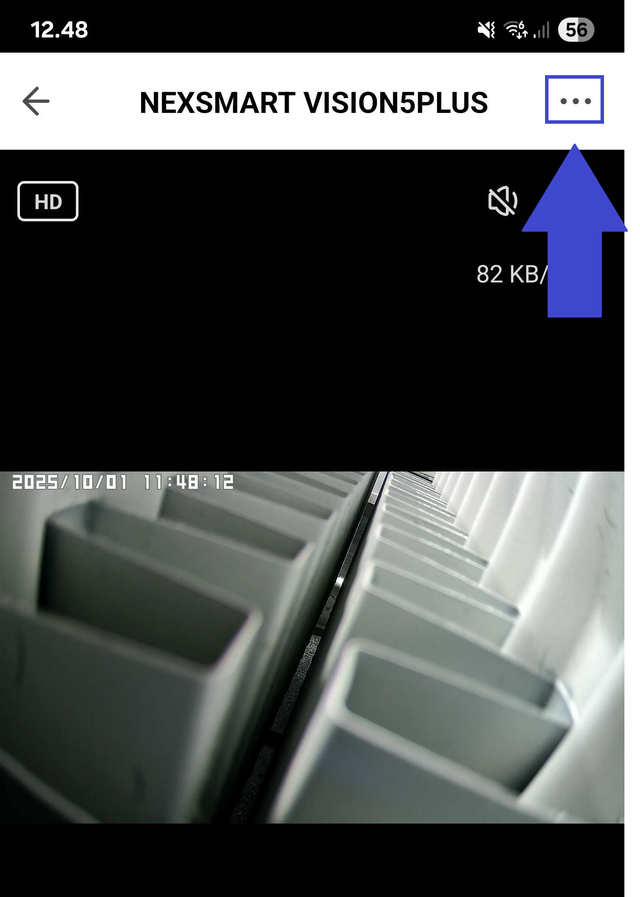
2. Tapping the three dots in the top right corner.
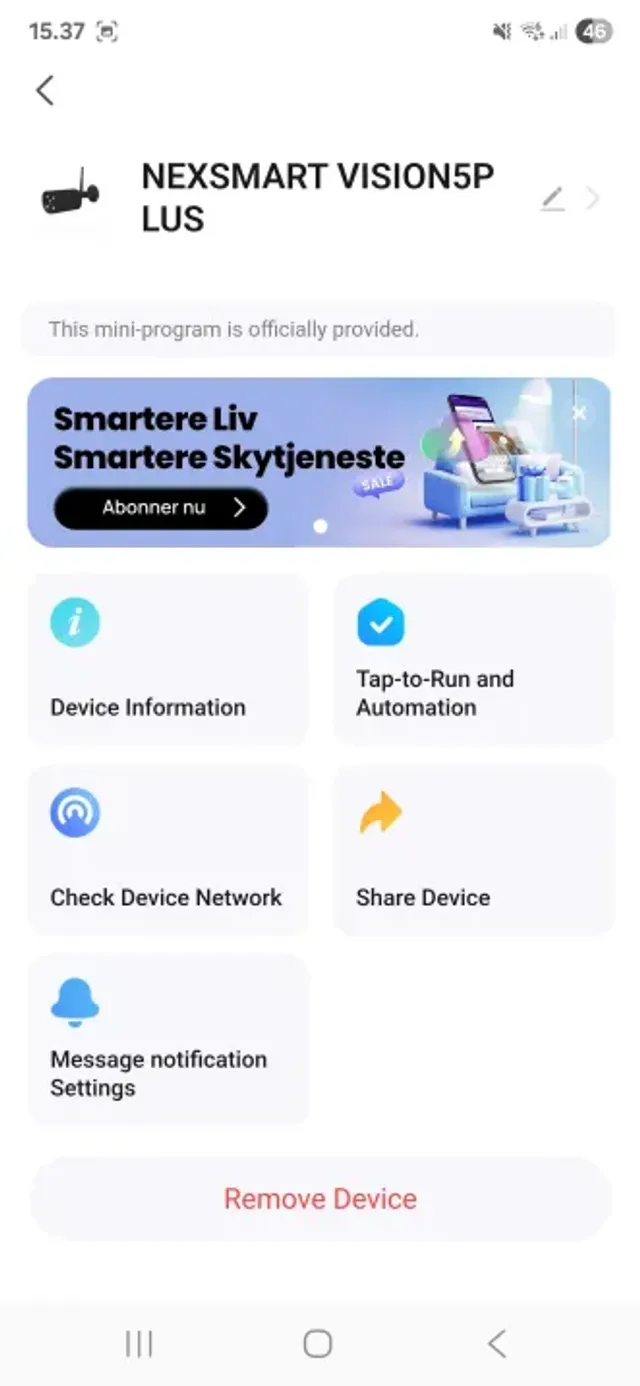
A menu will then open where you can access all of the camera’s settings.
In this guide, you’ll see an image with an arrow showing exactly where to find the three dots. This way, you’ll always be sure you’re tapping the right place.
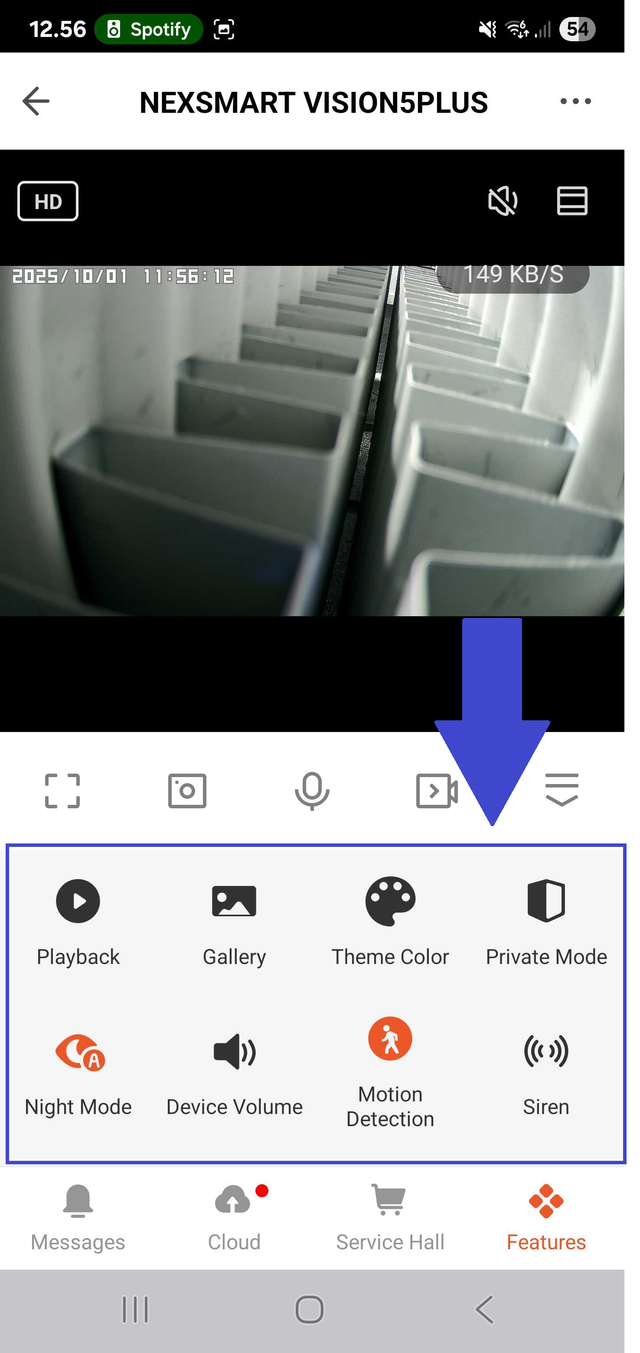
After pressing the button, you should be taken to the camera settings. Note that on most phones, you have the option to scroll down the list to access even more settings. It looks like this:
Motion Detection (Detection Alarm Settings)
Your NEXSMART camera can notify you when it detects movement. To get the most out of this feature, it’s important that the settings are adjusted correctly.
Not too low sensitivity: If the camera doesn’t detect enough movement, you risk missing important events.
Not too high sensitivity: If the sensitivity is set too high, you’ll receive many unnecessary alerts – for example, if a branch moves in the wind.
When setting up the camera, make sure it has as clear a view as possible. Avoid pointing the camera directly at bushes, trees, eaves, or walls, as this can cause interference in detection and unnecessary alerts.
In the app’s settings menu (via the three dots), you can easily adjust the motion detection sensitivity to find the balance that best suits your needs.
In the image below, you can see where to access the motion detection settings. Note that if you’re at the top of the camera’s settings menu, you may need to scroll down the list to find the option.
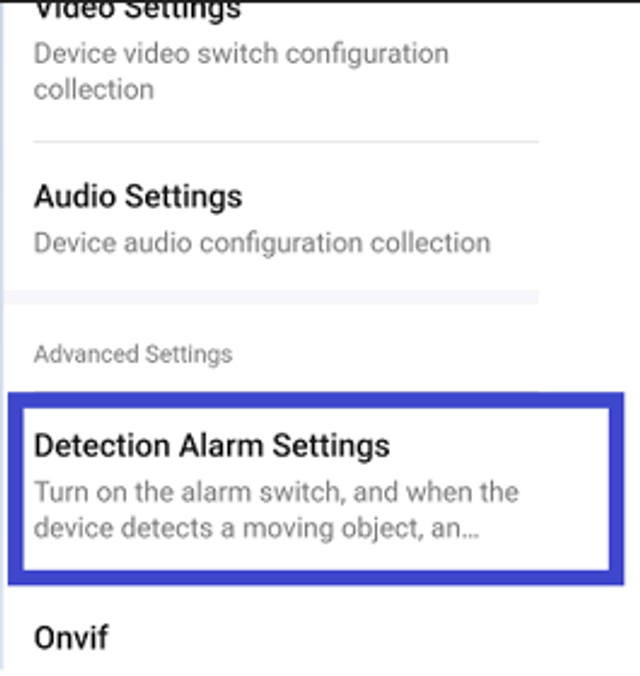
Here you can see the menu for the camera settings:
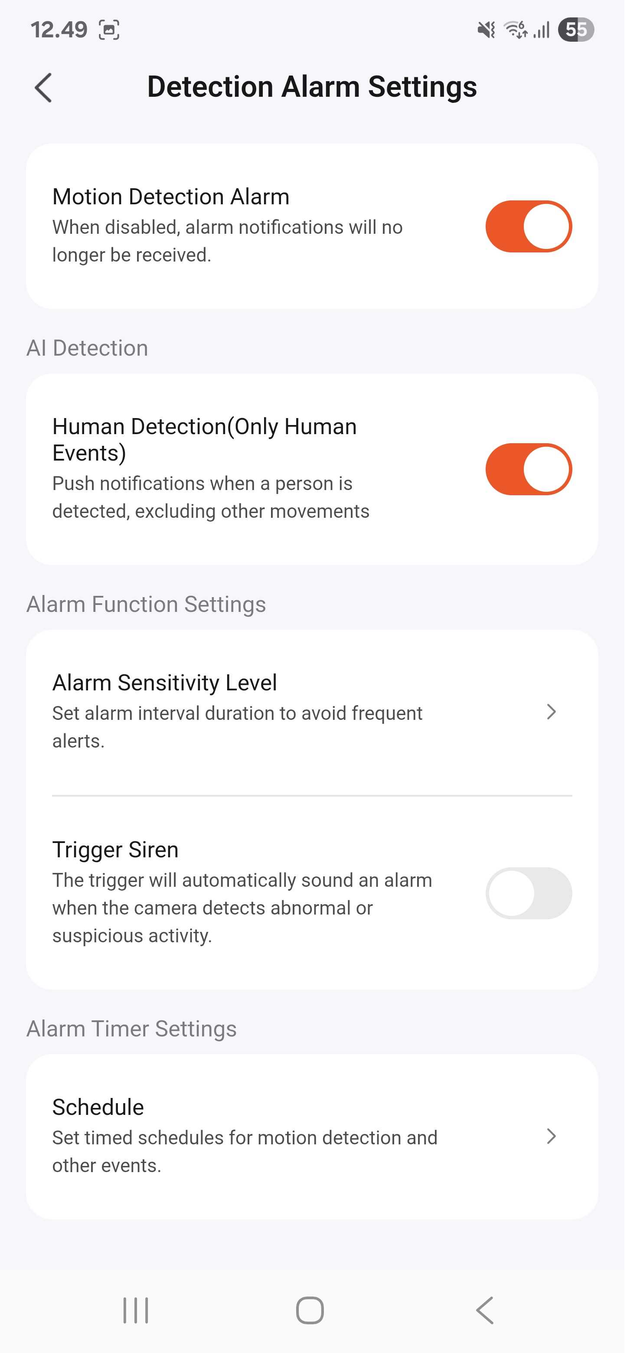
Explanation of the different settings:
Motion Detection Alarm – This setting turns the motion detection on or off on the camera.
Human Detection (Only Human Events) – This setting will, as much as possible, filter out all non-human objects when motion is detected.
Alarm Sensitivity Level – Here you can adjust the sensitivity level of the detection.
Trigger Siren – If this feature is turned on, the camera will activate a siren when motion is detected.
Schedule – Here you can set up a schedule for the camera. This can, for example, be used so that no motion is detected during the time you are usually at home.
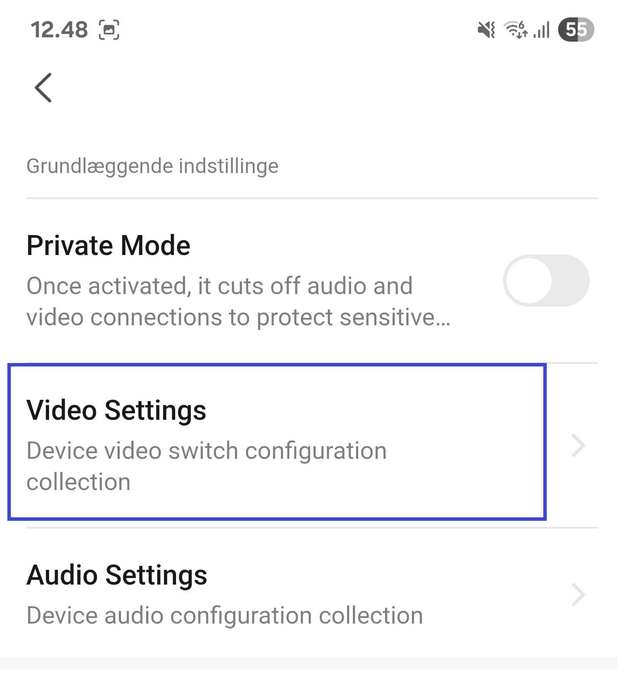
Video Settings
Nightvision Settings
To change the camera’s night vision settings, go to “Video Settings.” Here you can choose between two different modes:
Auto Mode
The camera automatically switches between infrared light (IR) and LED light.
Advantages: You get color images at night, and the LED light can act as a deterrent to unwanted guests.
Disadvantages: The LED light can be distracting or revealing if you prefer a more discreet security camera.
IR Mode
The camera uses only infrared light to create the night image.
Advantages: A discreet solution, as IR light is invisible to the human eye.
Disadvantages: The images are black and white and lack color details.
Note: For the best night vision results, the camera should have a clear view. Avoid placing it so that it faces walls, eaves, or other obstacles close to the lens, as these can reflect light and reduce image quality.
Flip Screen
With Flip Screen, you can flip the camera image upside down directly in the settings. The function is useful if the camera is mounted in an unconventional way – for example, hanging under an eave or mounted sideways.
The advantage is that you don’t have to worry about the camera’s physical orientation during installation. Regardless of placement, the image can always be digitally adjusted to display correctly on the screen.
Time Watermark
With Time Watermark, you can add a timestamp directly to the video recording. The function displays the date and time on the image, making it easier to document and review recordings later. The advantage is that you can always see exactly when an event occurred.
Status Indicator
With Status Indicator, the camera emits a blue light showing that it’s active and functioning correctly. This provides a clear visual confirmation that the camera is operating. The advantage is that you can quickly see if the camera is on without checking via the app or settings.